Archive for year: 2017


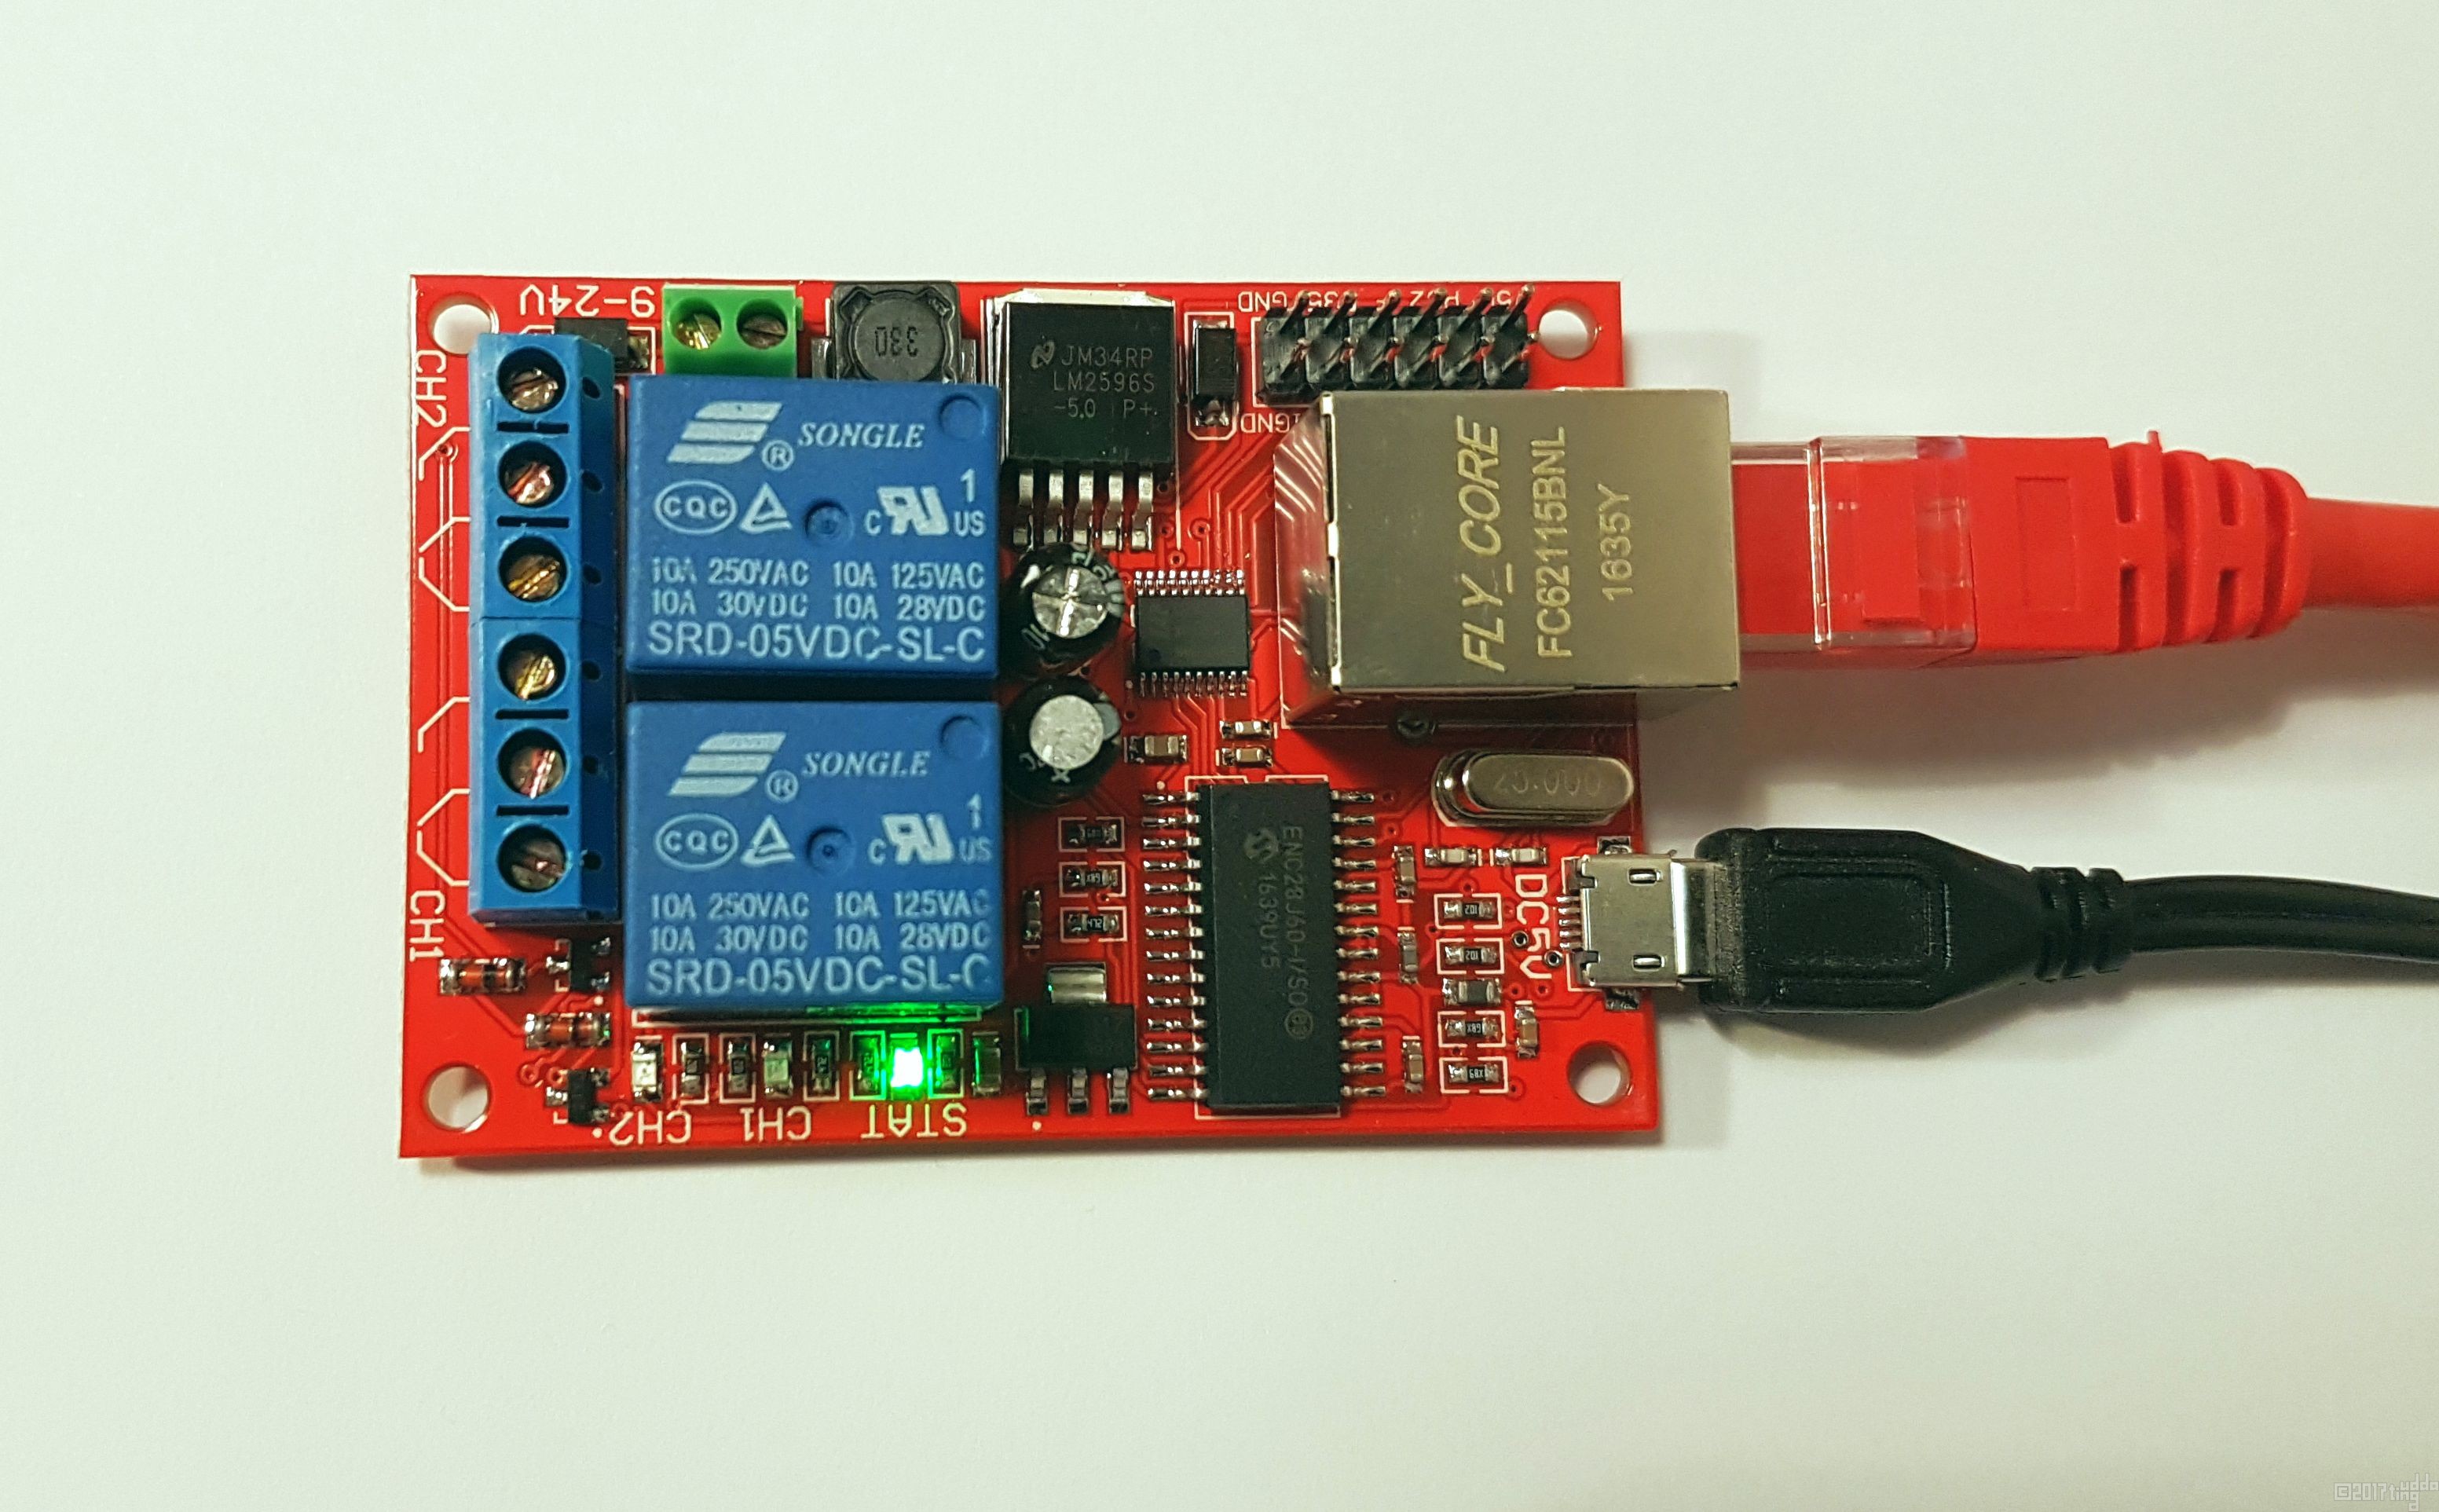
SR-201 Network Relay card
Why I bought a SR-201 Network Relay card.
Nowadays, when it is so popular with energy-saving measures and the “Internet of Things” is the thing, I came up with the brilliant idea that I could actually shut down our network in the house during the night when no one is using it to save some energy.
So I searched eBay for a relay controlled via the network. I found this.
The card costed about $15, and after a brief moment of consideration, I bought it. The long wait began. After a month it turned it up in the mailbox. But once on the desk, connected and ready, problems began to pile up. I usually use the Angry IP tool to look up the IP number of new units that I connect to the network. But no new IP numbers showed up when I searched, so after a bit of Googeling, I found out that the relay board had IP number 192.168.1.100, a number that I already use for other things. But how do you reconfigure the card?
More Googeling.
There was apparently software to this card but there were no software included in the package, something that was apparently a common problem. I started to change IP number on my machine with IP 192.168.1.100 and then managed to make contact with the relay card and managed to reconfigure it to another IP number with the software that I finally found, in Chinese!
Edit 2023-05-08
Above links does not work all the time. If it does not work use the link below.
Documents:
http://www.tutuuu.com/download/sr-201-eng.rar
Password:www.tutuuu.com
SR-201 Network relay factory configuration.
| IP-address | 192.168.1.100 | network parameters can be configured through software. |
| Standard Gateway | 192.168.1.1 | |
| Net mask | 255.255.255.0 | |
| TCP-port | 6722 | port can not be reconfigured. |
| UDP-port | 6723 |
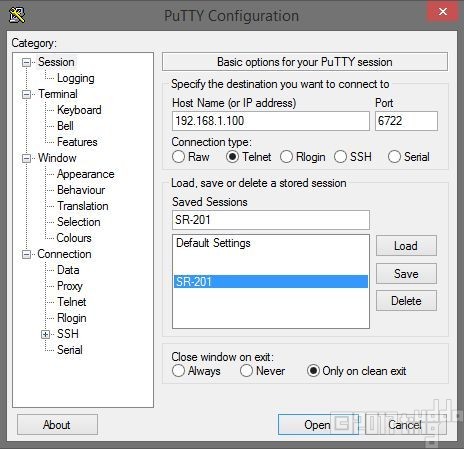
Control the Relay card with a terminal client like PuTTY
You can control the relay board with a terminal client, I use PuTTY just because I happen to have it installed, you can probably use any terminal client. I made the settings as shown below. Click “Open” then open the terminal window. Then, just to send commands to the relay board.
Status           - 00
Pull relay 1     - 11
Release relay 1  - 21
Pull relay 2     - 12
Release relay 2  - 22

Delay 1 to 65535 seconds.
To pull the relay no 2, enter 12 in the terminal window and press enter. And then to release it again, enter 22 and press enter. You can add a delay, in seconds. You do this by typing, for example 12: 28800 and then press enter. This results in that the relay is activated for 8 hours. You can have a delay of a maximum of 65535 seconds or 18 hours, 12 minutes and 15 seconds, if I not counted wrong.
The above information can be use if you want to make your own program to control the relay card.
Here is a small instructional video about the above concept.

Övningar för gränsvärden, derivata och primitiva funktioner.
Eftersom jag inte lyckades hitta något färdigt övningsblad på internet började jag sätta ihop ett själv. Sedan kom jag på att jag kan ju göra en PDF och lägga upp det på internet så kanske fler kan ha nytta av det. Dessa övningar kan vara till nytta för gymnasieelever och de som läser endimensionell analys på högskola.
Nedanstående övningsblad innehåller:
Standardgränsvärden.
Derivata av elementära funktioner.
Elementära primitiva funktioner.
Enkel och billig hållare för smartphone, för filmning
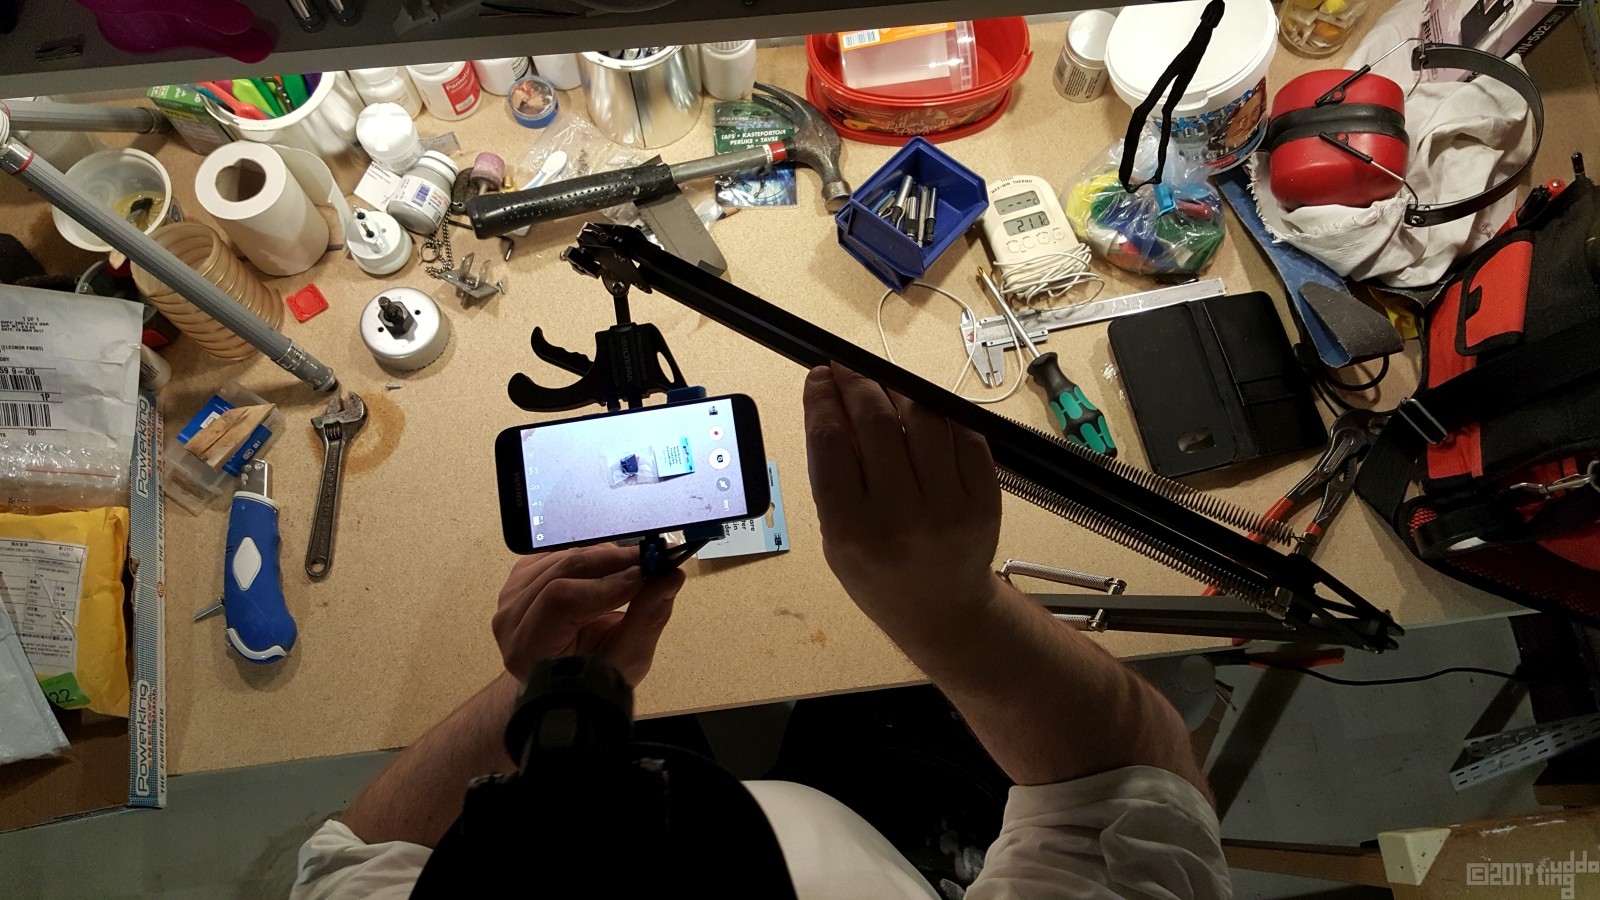
En dag kom jag fram till att jag verkligen behövde en hållare till min smartphone så jag kunde ha bägge händer fria när jag filmade på mitt skrivbord. Men de hållare jag hittade online var för dyra så eftersom jag gillar att bygga saker byggde jag mig en egen.
Saker jag köpte:
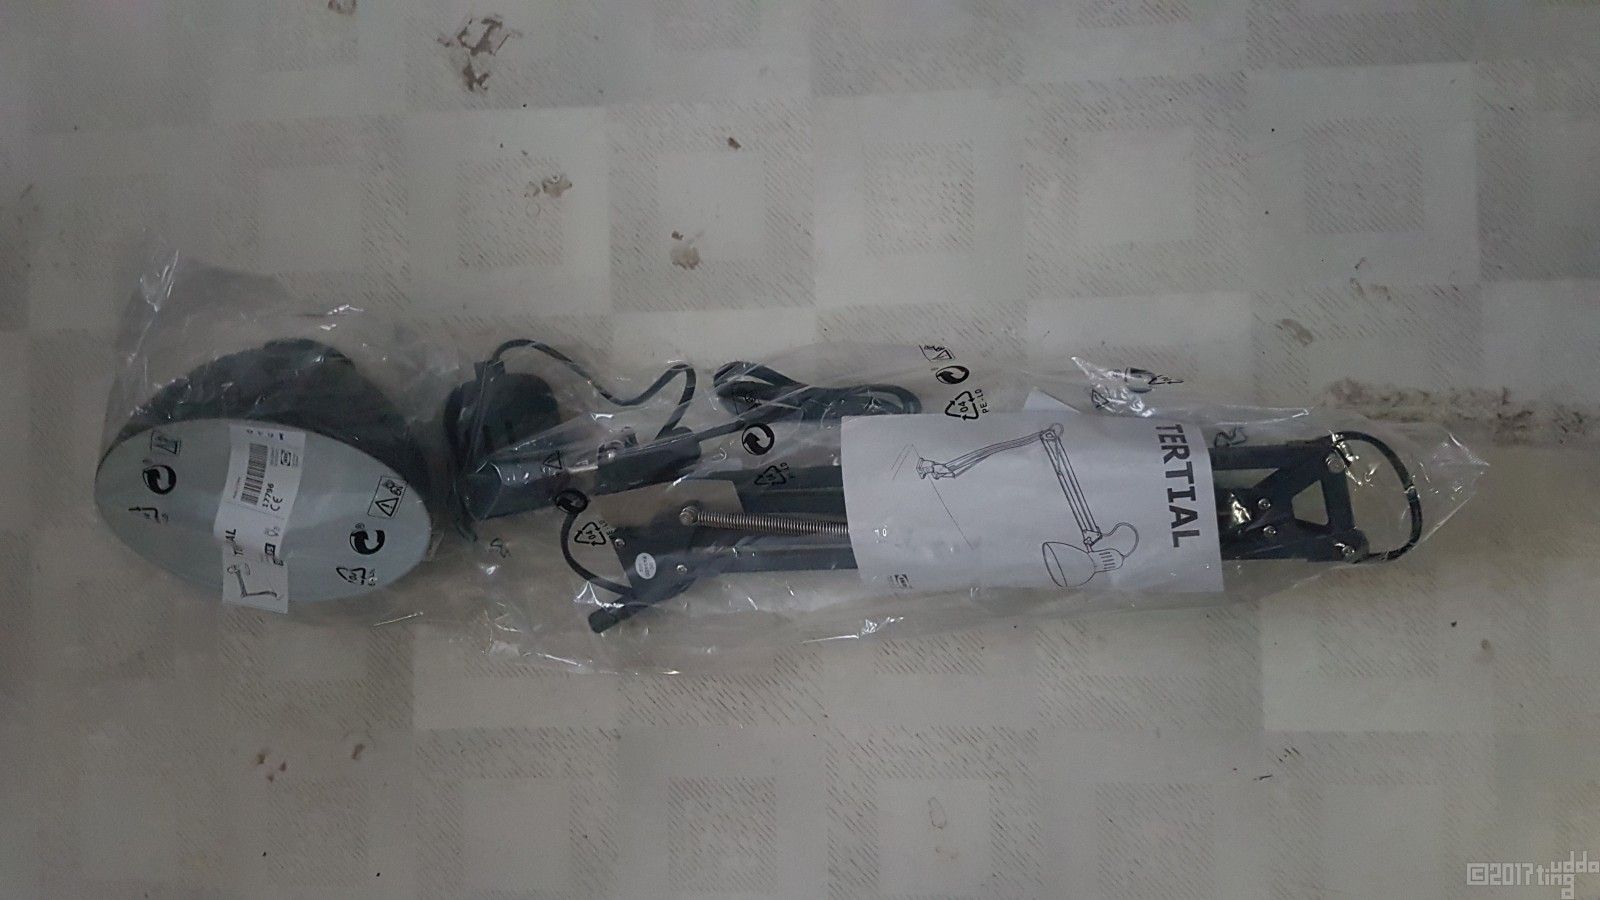
IKEA, Tertial
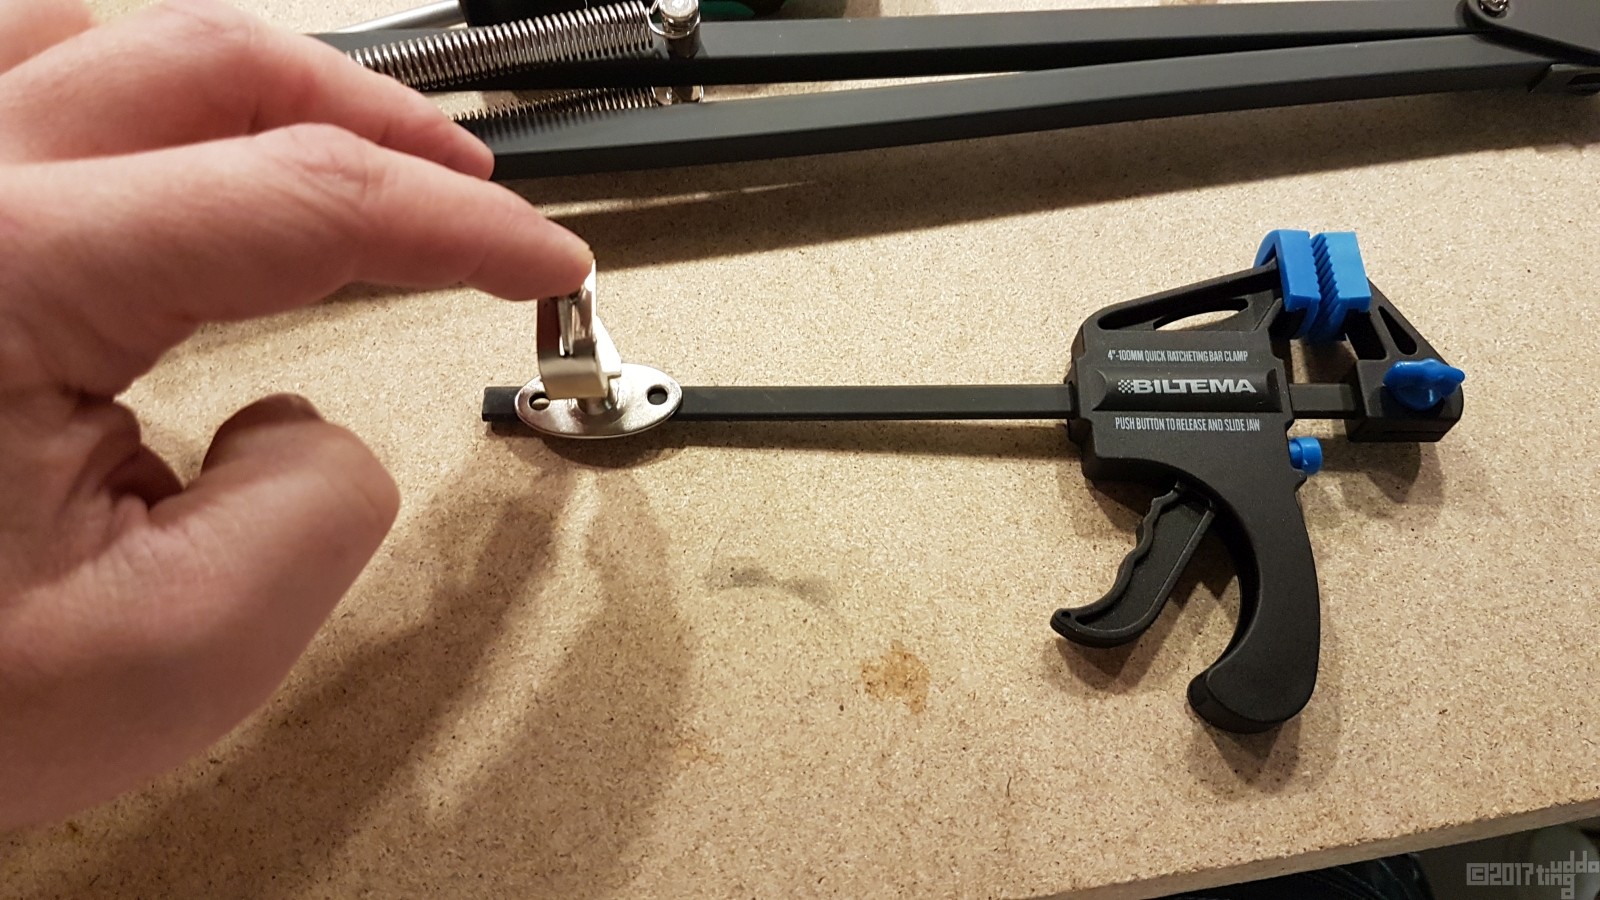
BILTEMA, Snabbtving
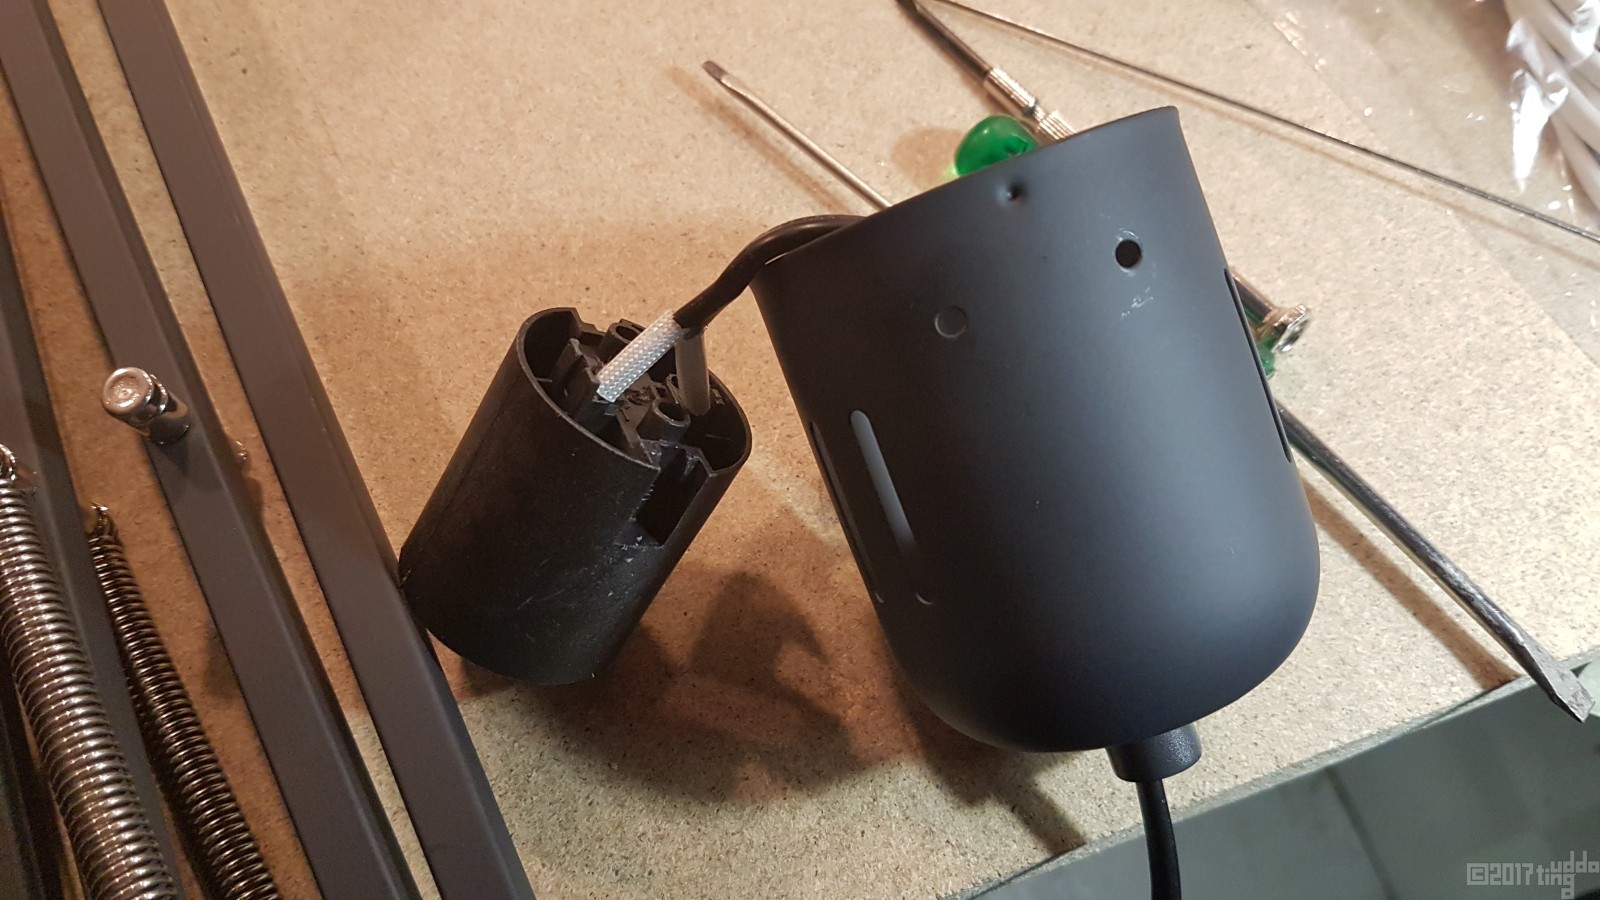
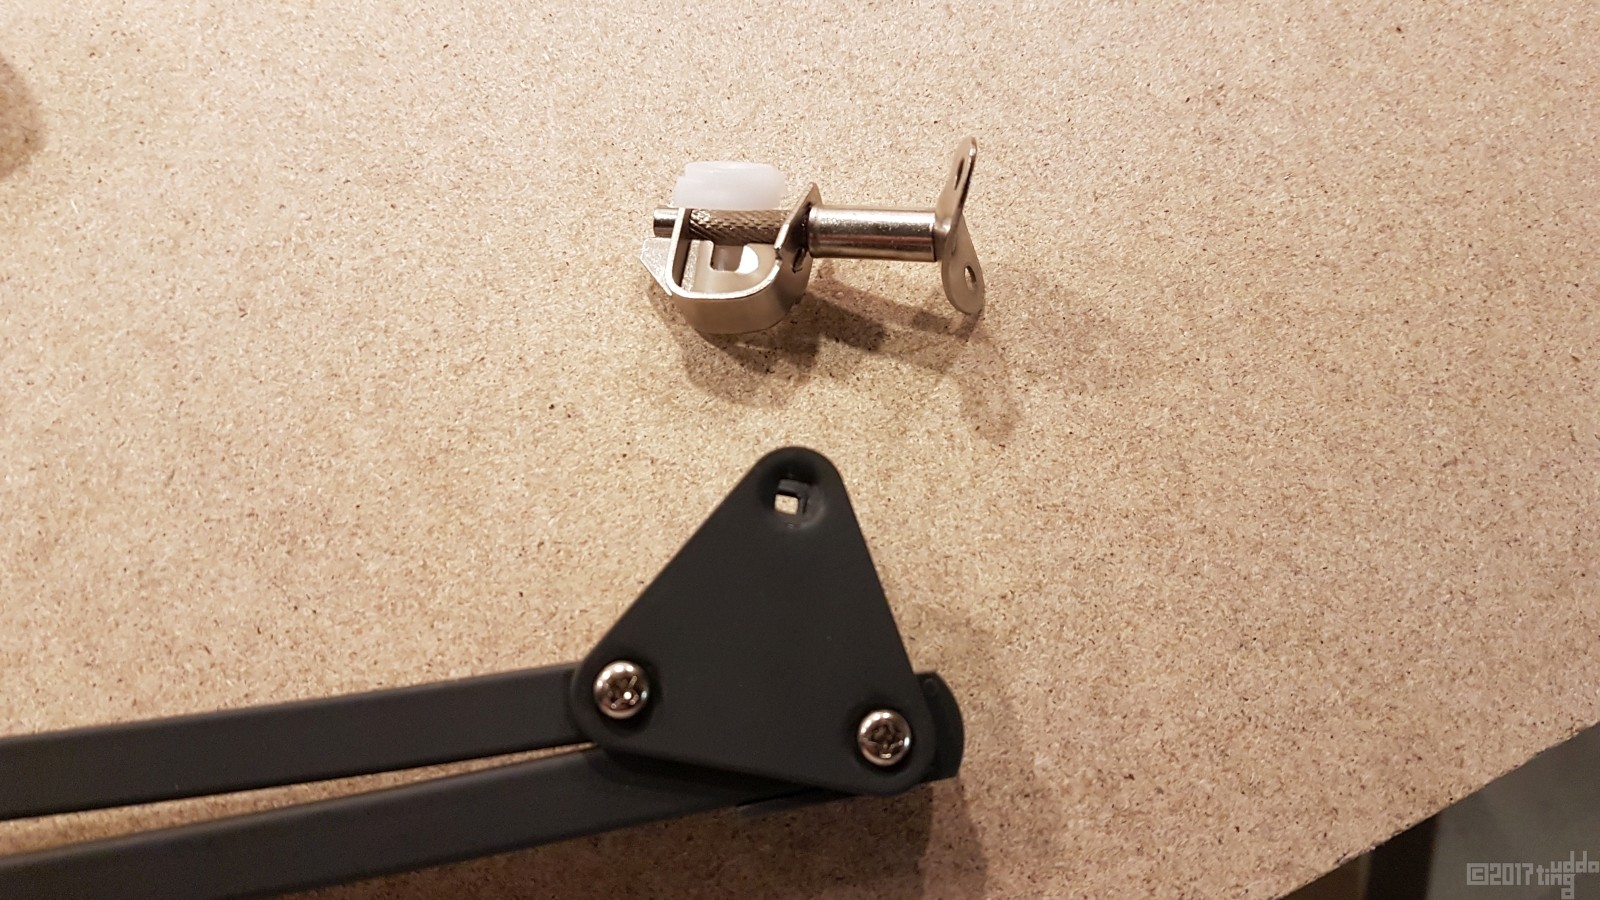
Jag tog bort sladden och hållaren till skärmen. Dessa sparade jag till ett senare projekt.
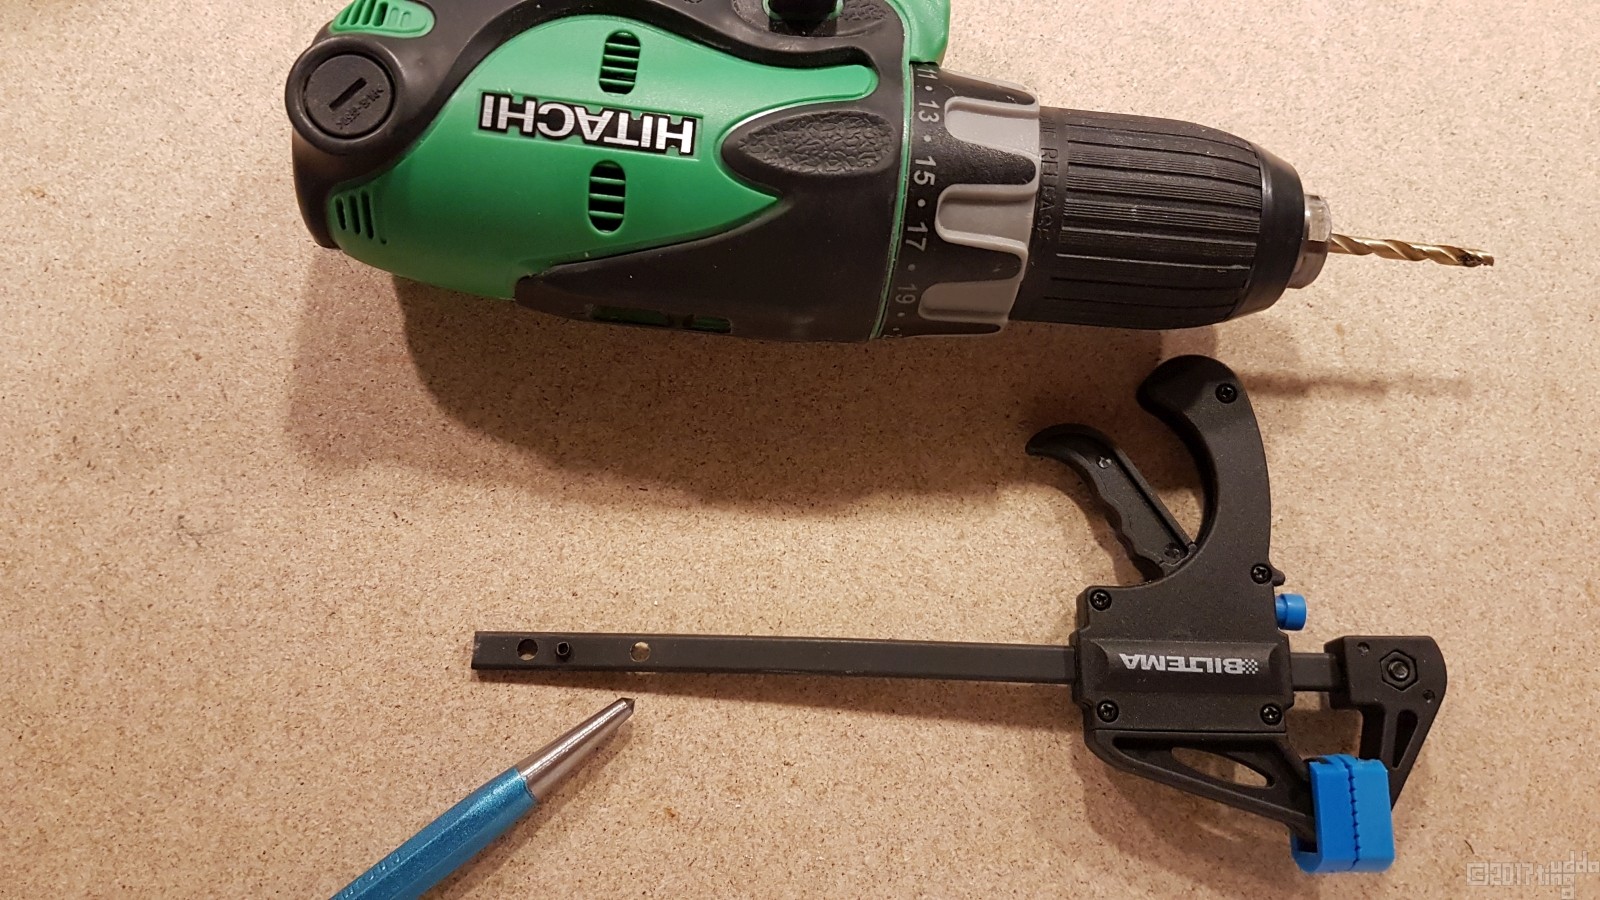
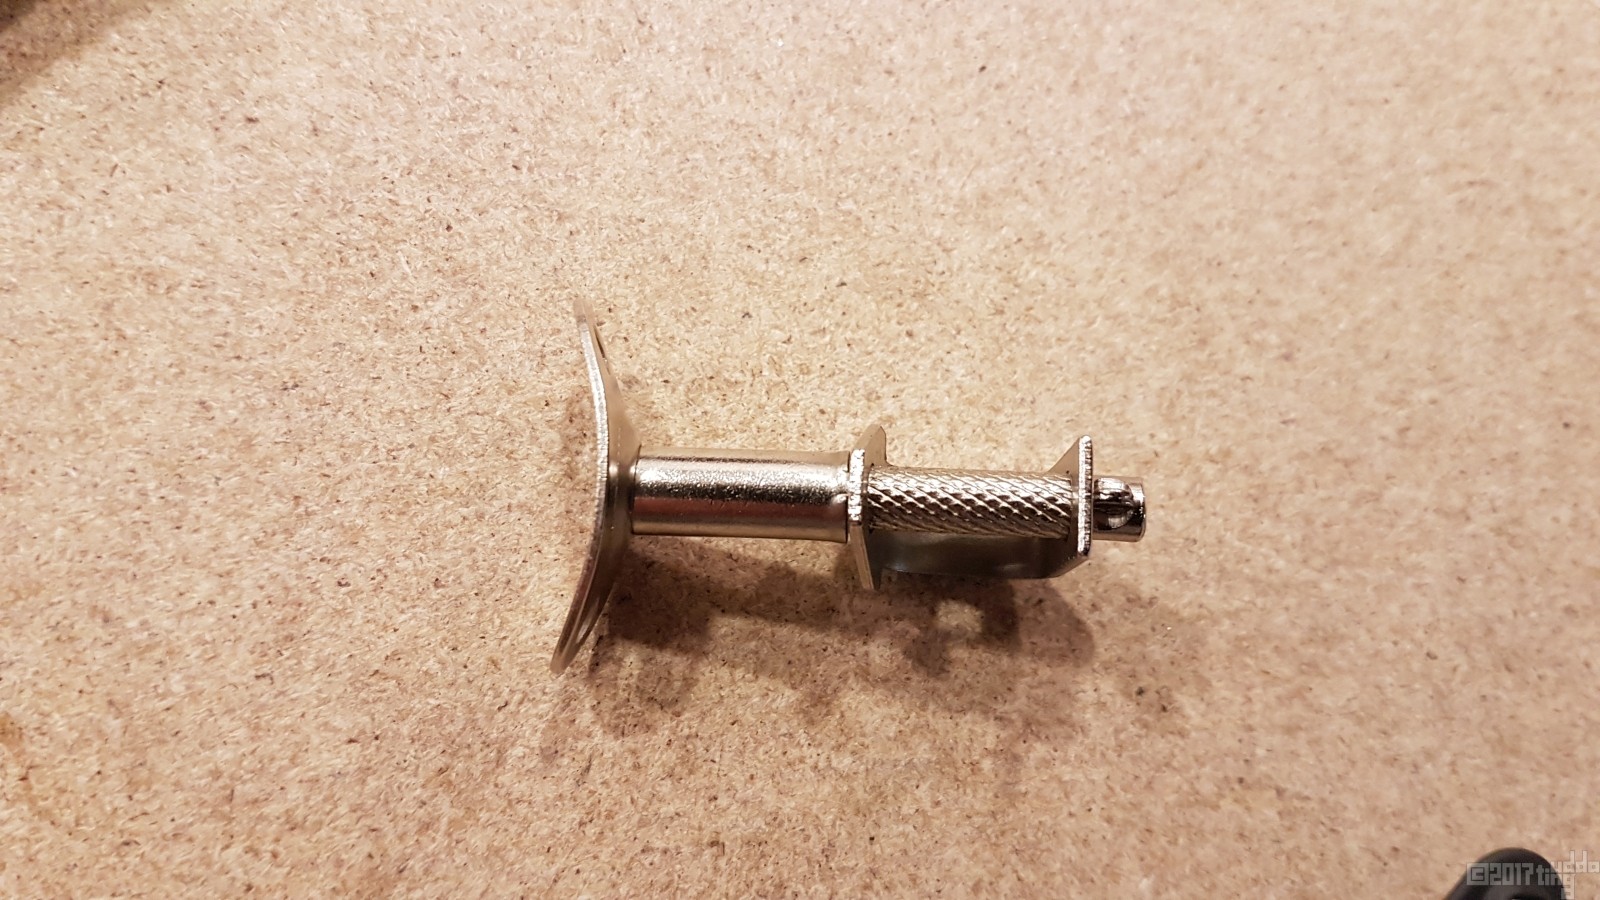
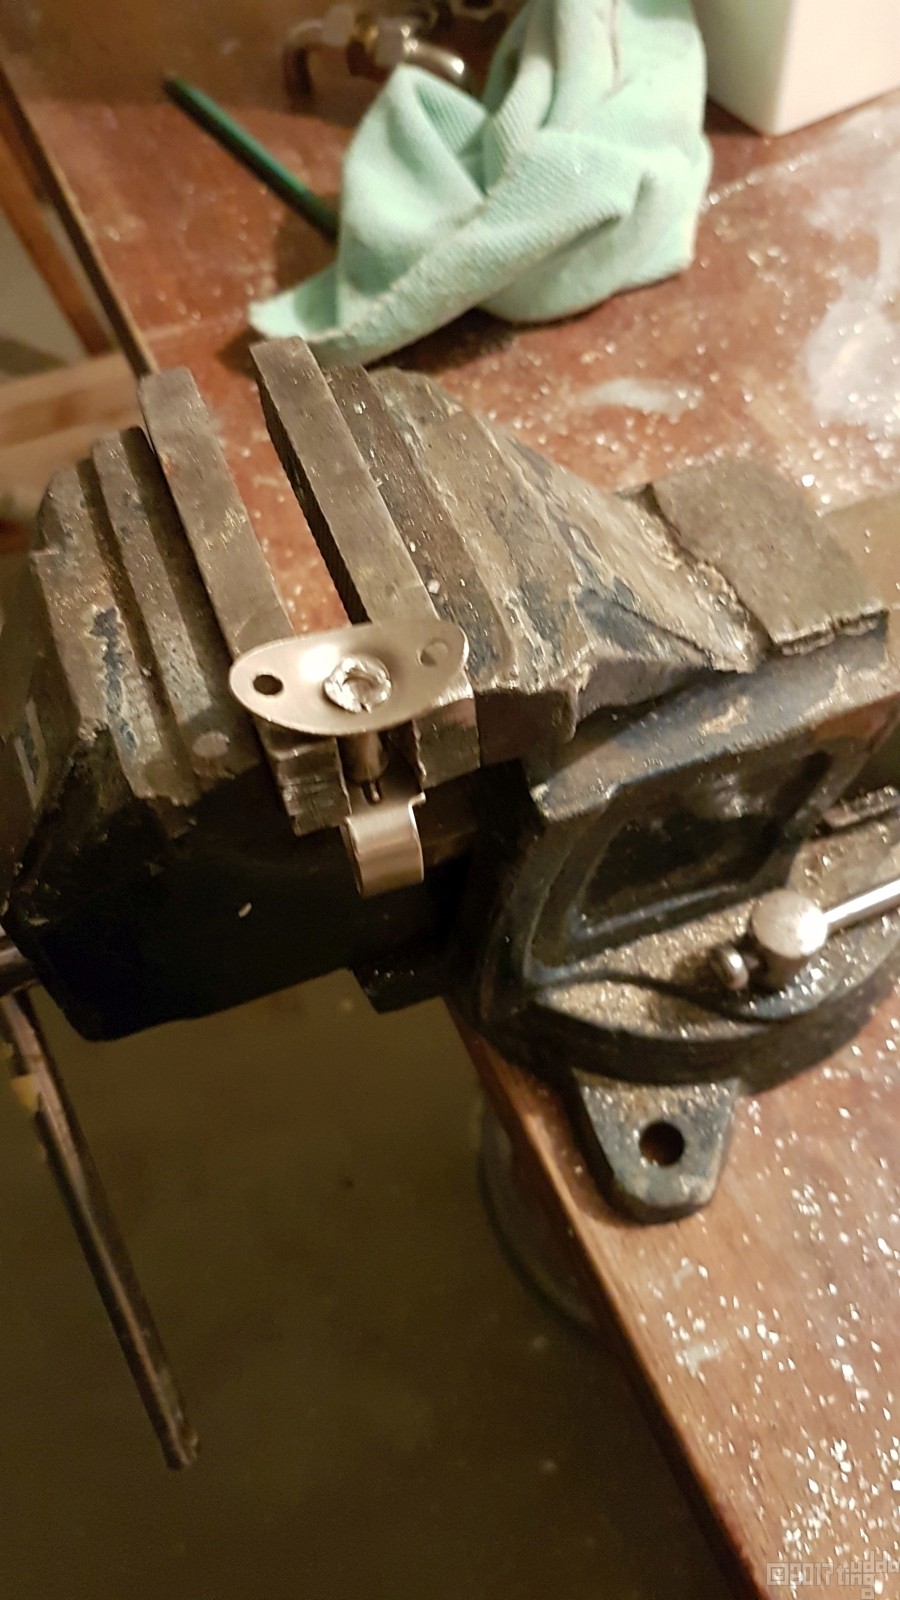
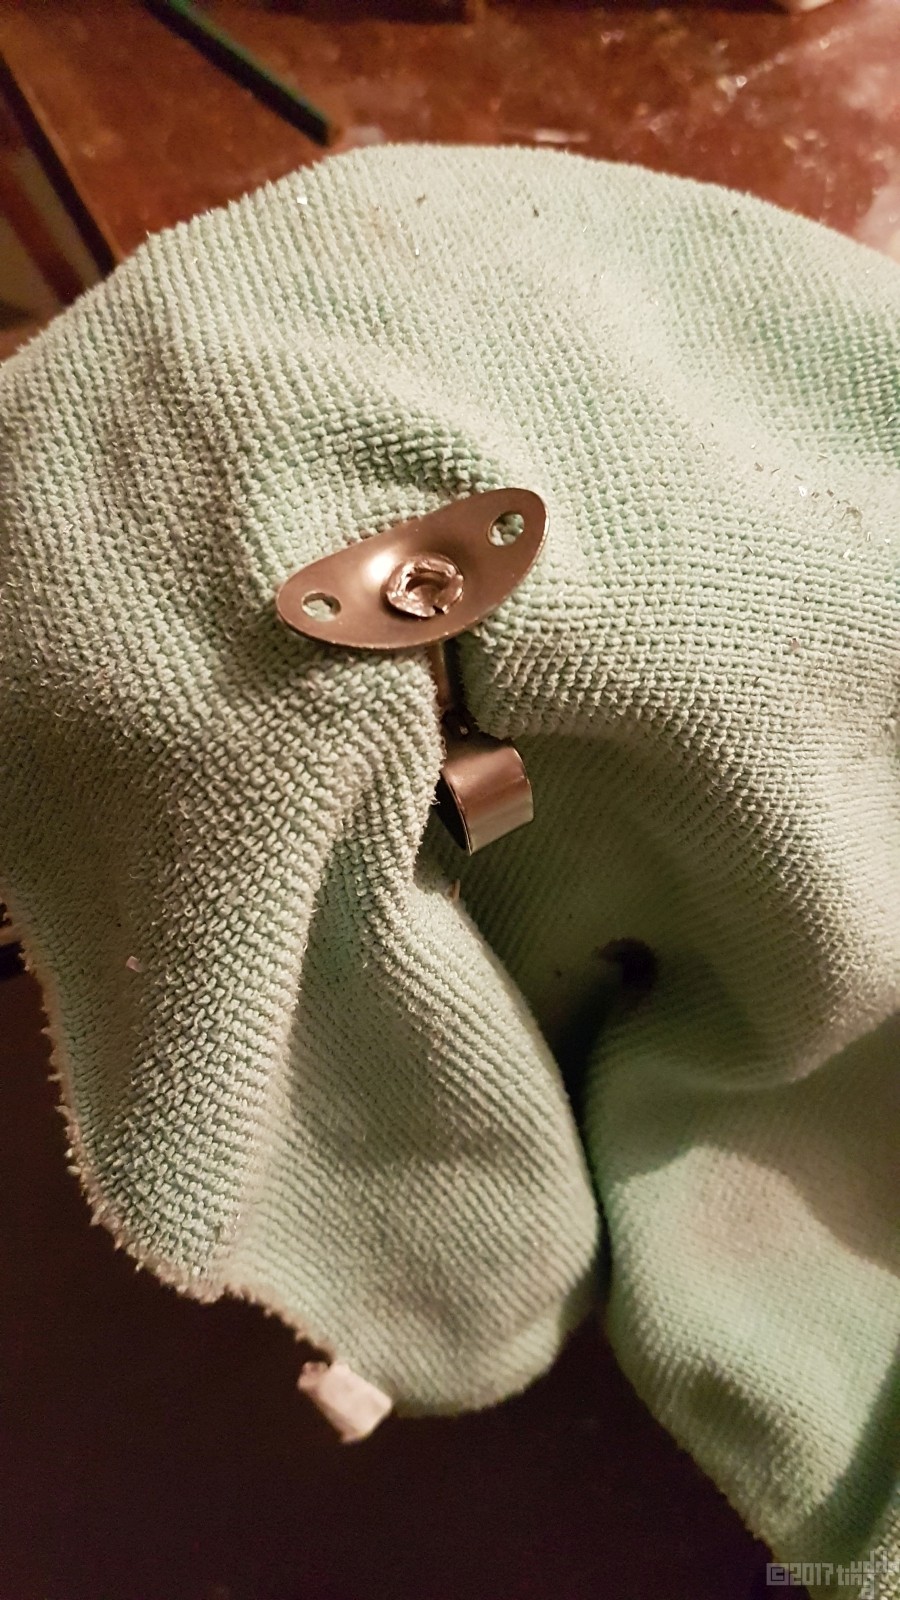
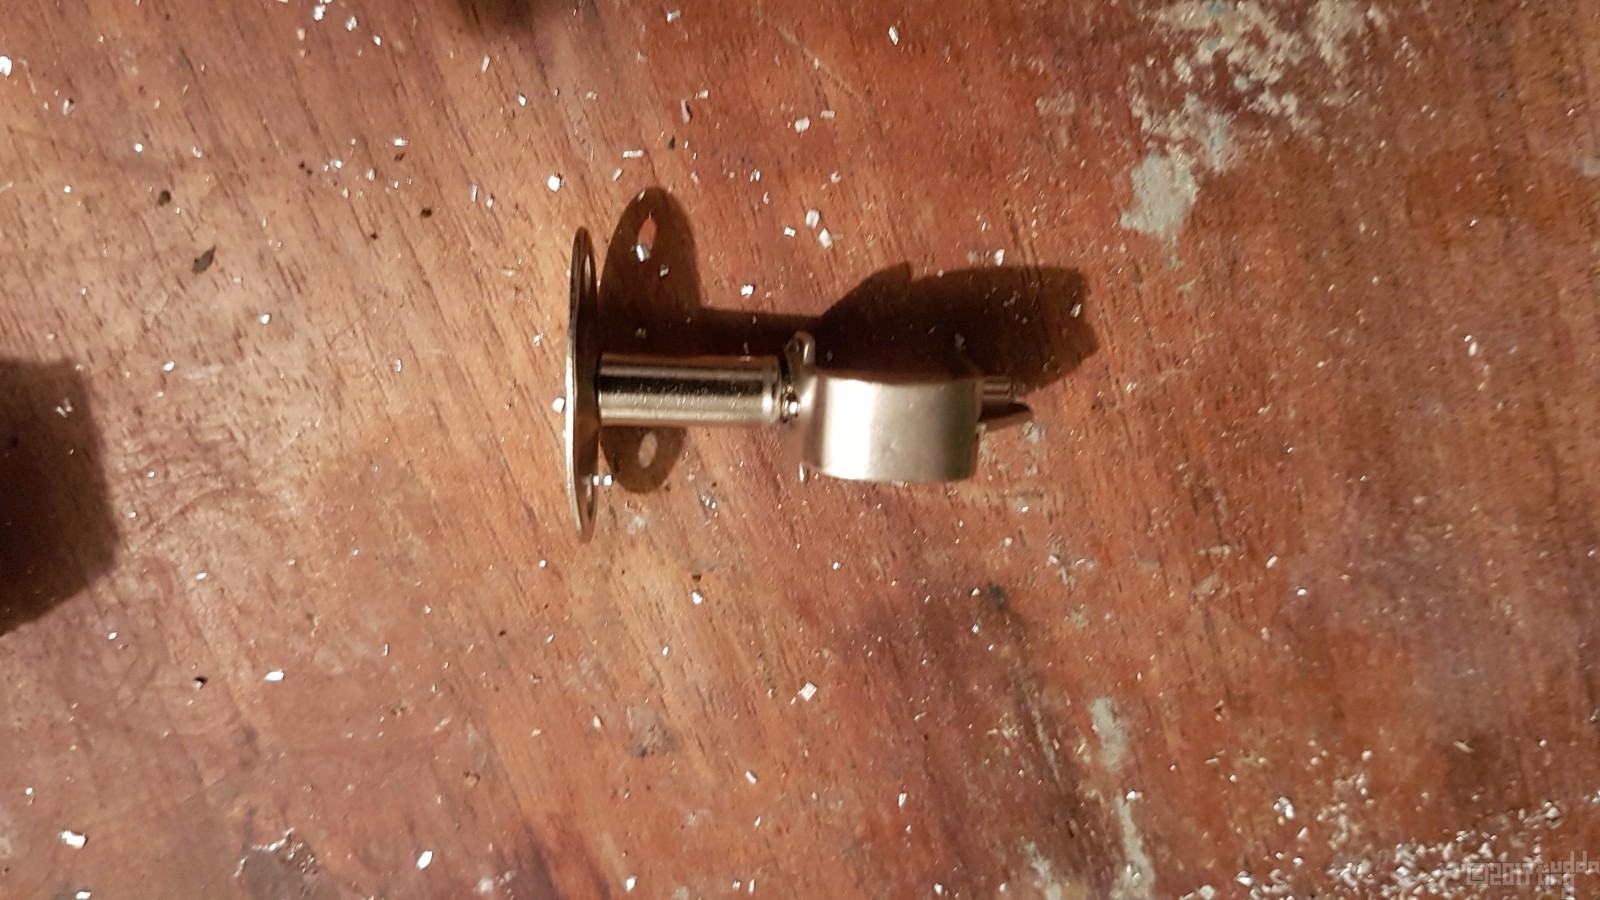
Plockade av det lilla silvriga fästet och hammrade det plant.
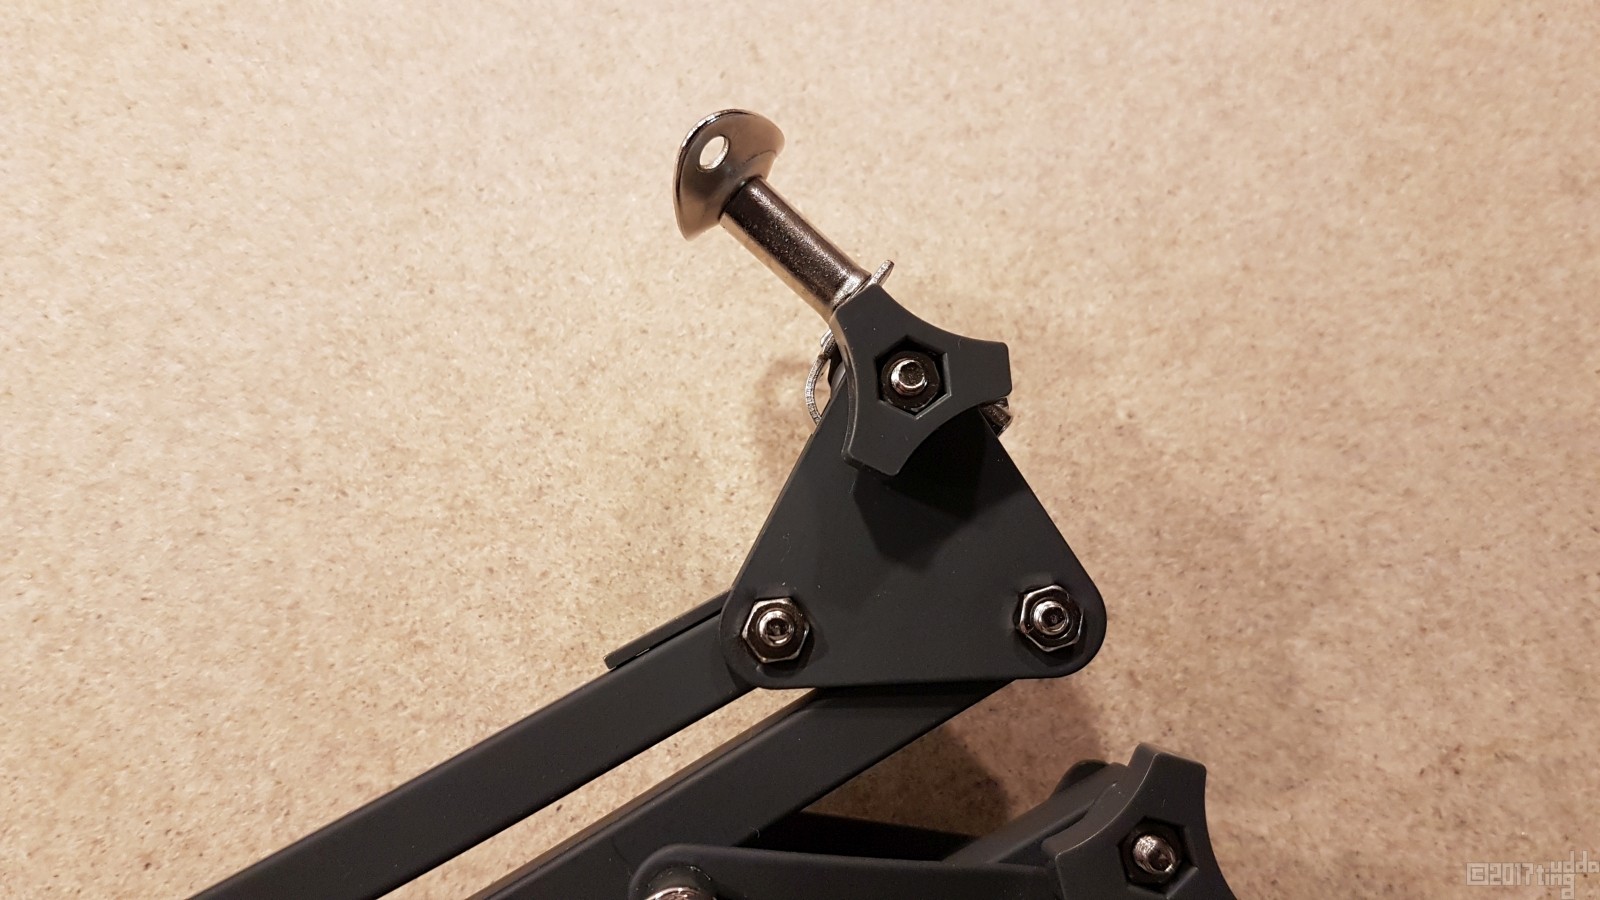
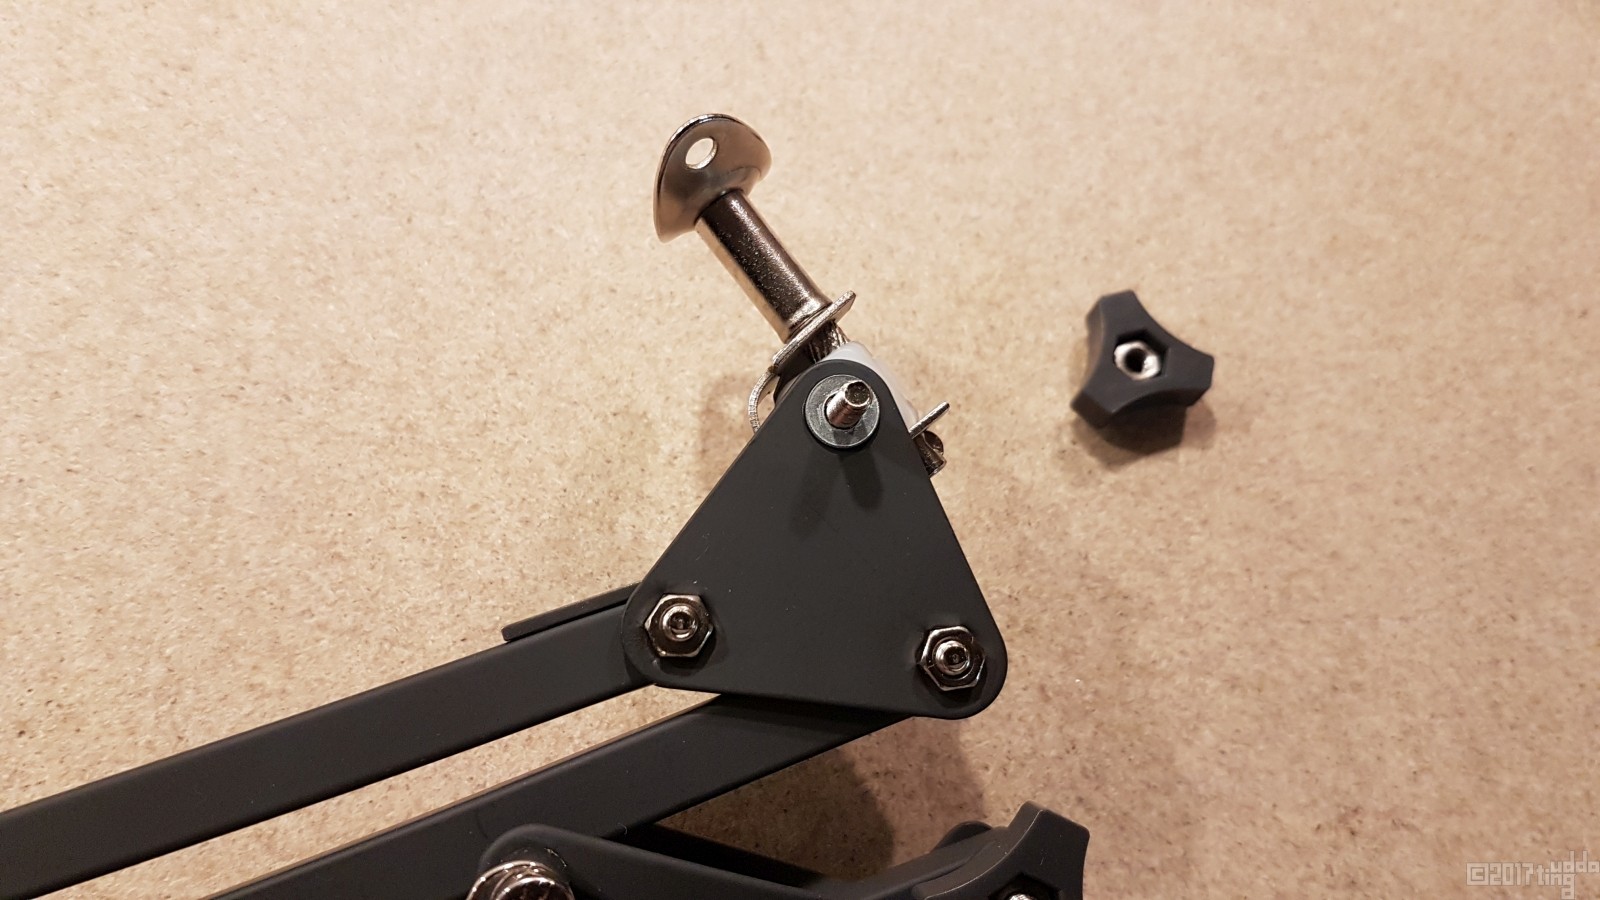
Borrade ett extra hål i snabbtvingen och skruvade sedan ihop allt igen.
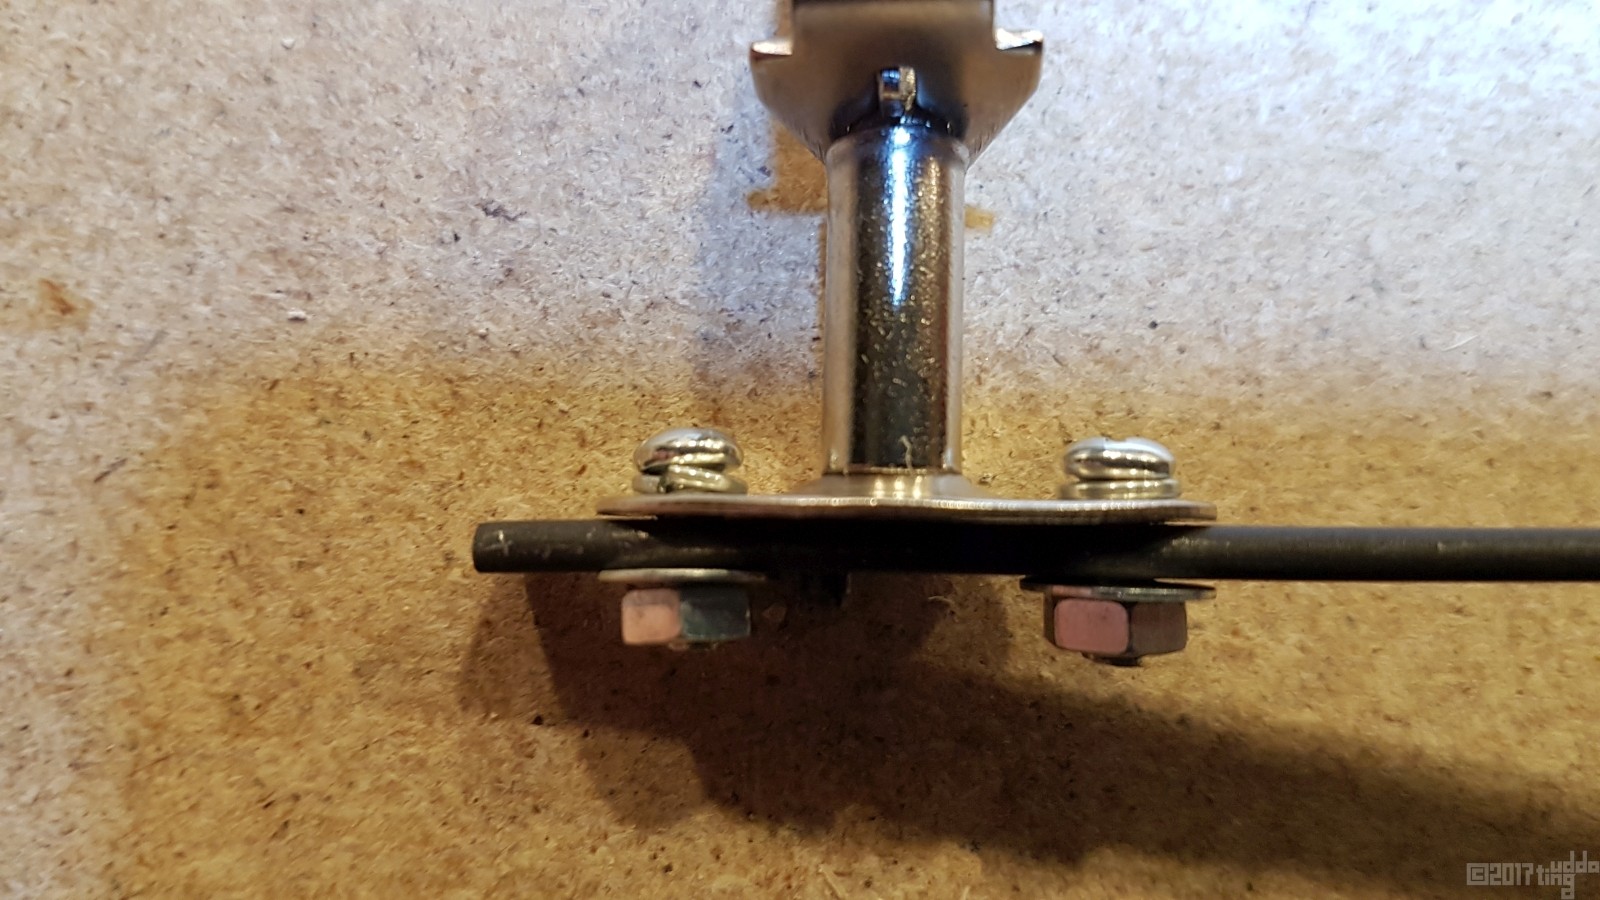
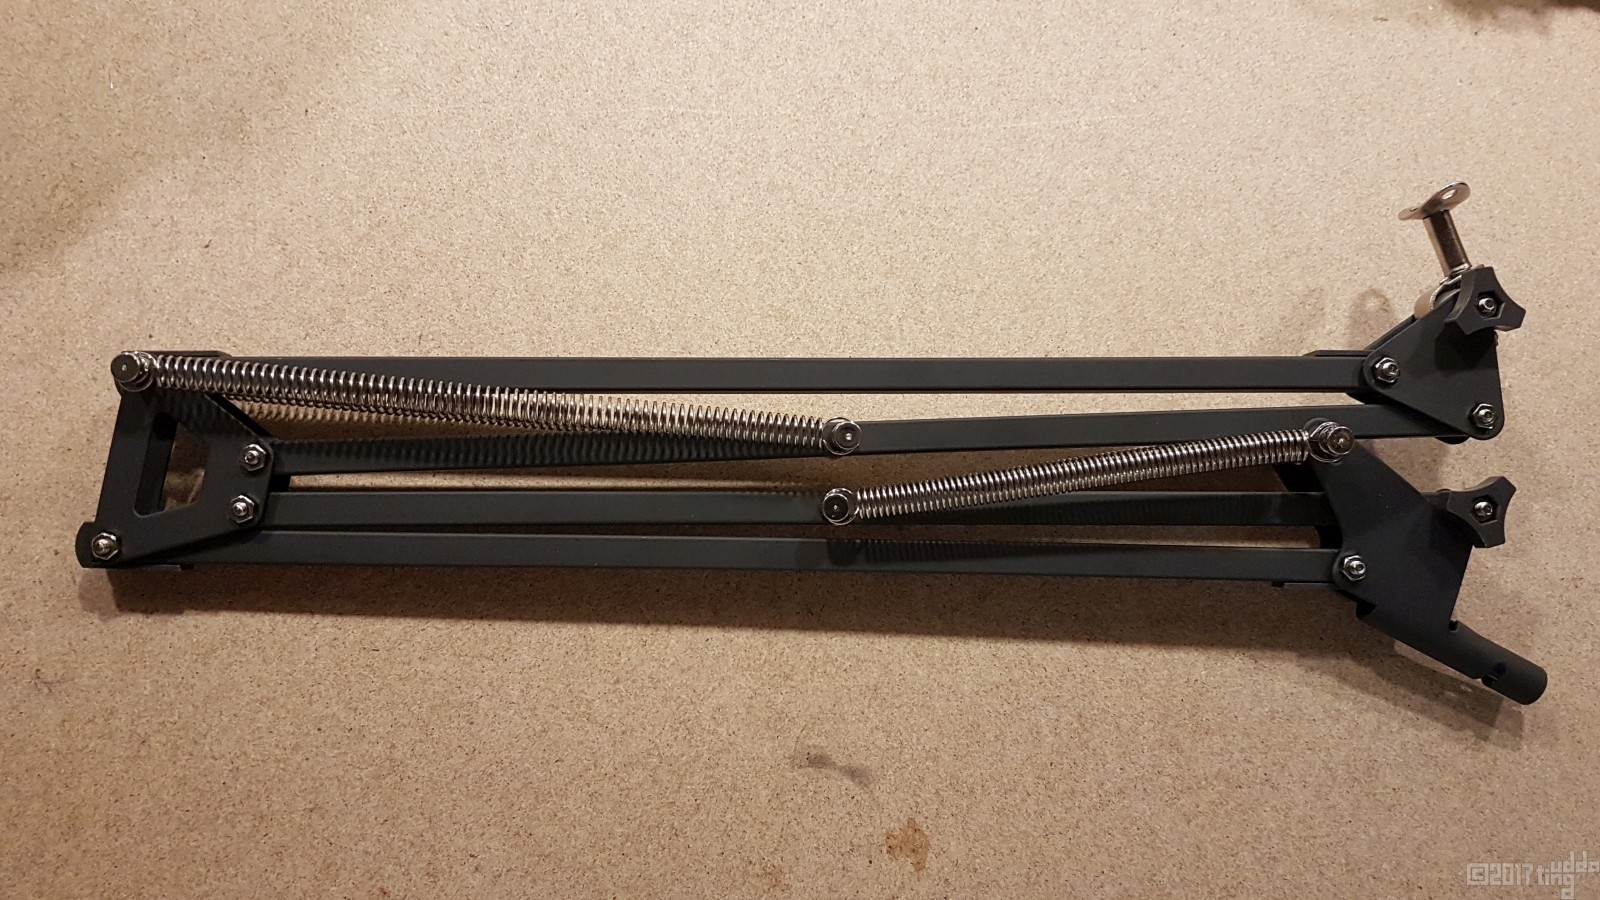
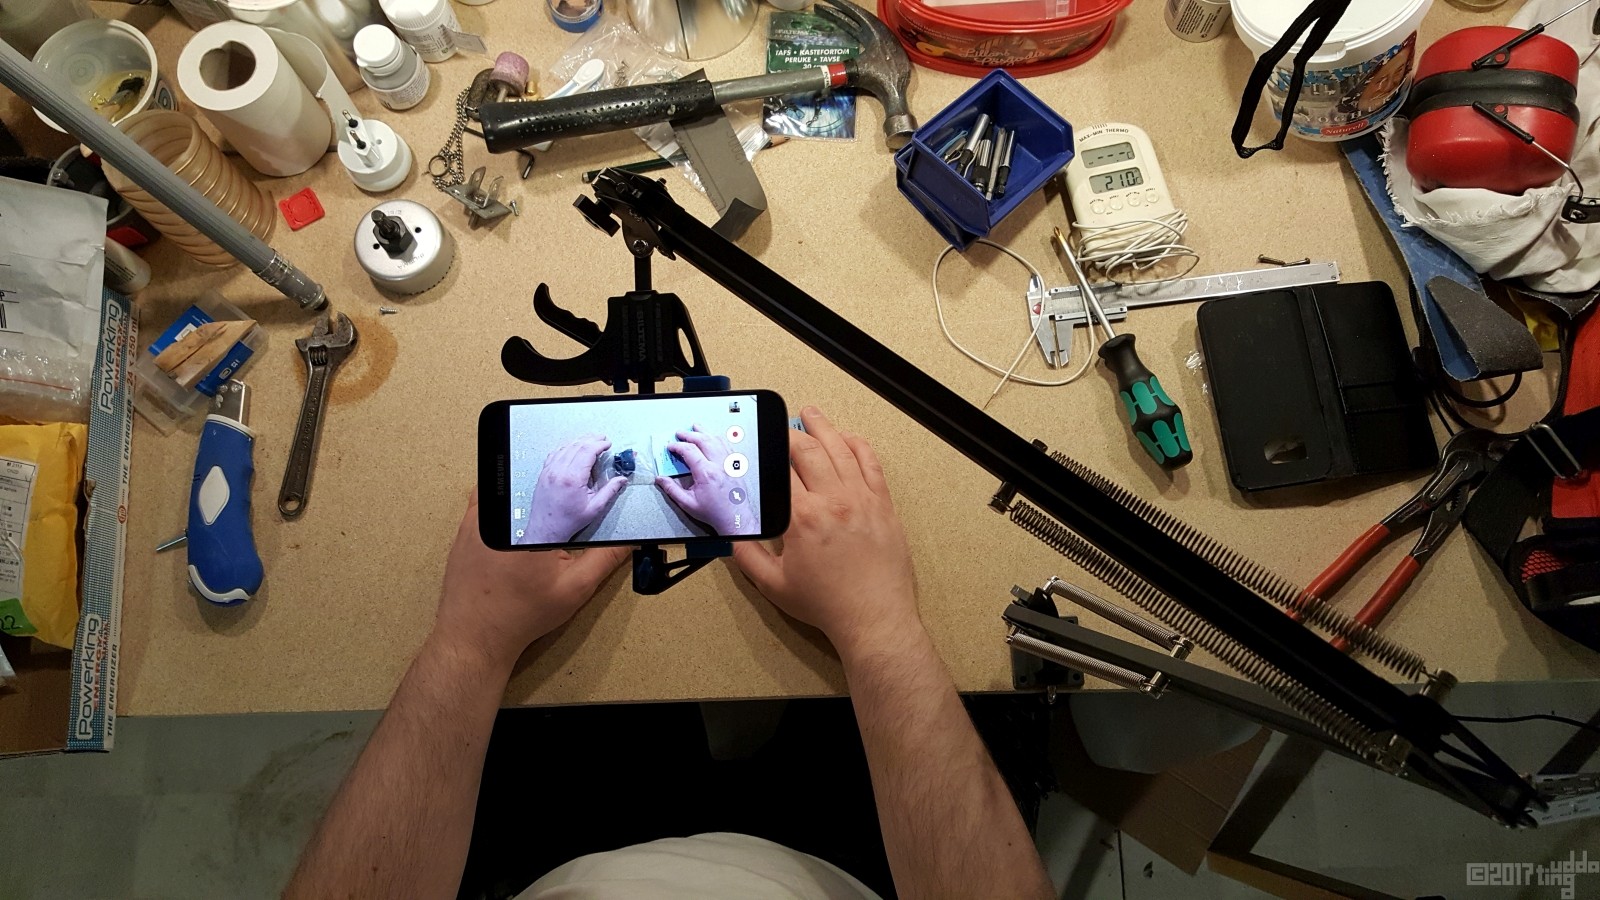
Så här blev det!
Simple smartphone holder for filming, on the cheap.
One day i realized i needed a holder for my smartphone when i was filming stuff on my bench. But the holders i found online was too expensive and i like to build things myself so i thought up this idea.
Things i bought:
IKEA, Tertial
BILTEMA, Snabbtving
I began whit removing the shade holder and electrical cord carefully and saved them for other projects.
Removed the little holder and pounded it flat whit a large hammer.
Drilled a new hole in the clamp and put i all back together.
This is how it turned out!
